So You Want To Build A Fembot (DAZ Studio)

So you want to build a fembot?
Here’s what you’re going to need: Daz|Studio (https://www.daz3d.com/get_studio)
CyBody - Cyborg Internal Structure and Materials for Genesis 8 Female by DireWorks (https://www.renderosity.com/mod/bcs/cybody---cyborg-internal-structure-and-materials-for-genesis-8-female/141797)
Fembot 3.0 for Genesis Female 8 (https://www.renderosity.com/mod/bcs/fembot-3-0-for-genesis-female-8/135750/)
PROTOTYPE-FIVE for G8F by EdArt3D (https://www.renderosity.com/mod/bcs/vendor/EdArt3D?uid=EdArt3D&page_number=2)
Davo’s MadLab III (https://www.renderotica.com/store/sku/46923_Davo-s-MadLab-III)
Creating open panels in DAZ Studio is a quick and easy technique. This tutorial will show you how to make an open abdominal panel for any Genesis 8 Female, but it works with any DAZ figure, and can be used to make other open access panels.
1. Start by loading up the Genesis 8 female. This technique works with Genesis 3 as well, but I haven’t found any fembot characters that work with this figure, so I’m sticking with G8F.
2. Creating an abdominal panel requires using the Geometry Editor tool. To get to this tool, go to the Tools menu and select the Geometry Editor. Alternately, you can select [Alt] + [Shift] + G to select it.
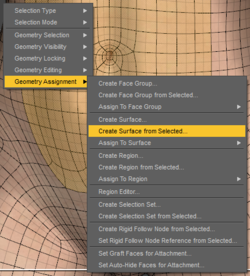
3.Switch the viewer to a Hidden Line or Wire Texture Shaded view to view the polygons more easily. Use the mouse to select your polygons. Hold the [Ctrl] key to select multiple polygons without clearing your selection. Once you have selected your polygons, right click on the viewer to open a menu. Select Geometry Assignment -> Create Surface From Selected… and use any name to create a new surface. In this case, I named the surface, AbPane.


4. Exit out of the Geometry Editor, and go to the Surfaces Tab. In the Genesis 8 Female surface tree, under Surfaces, you should see the newly created AbPanel surface. Select the AbPanel surface, and change the Cutout Opacity parameter to 0.0% When you switch back to the Texture Shaded view, you will see a large opening in G8F’s abdomen.


(Don’t worry about the glossiness, it doesn’t appear when you render the image.)
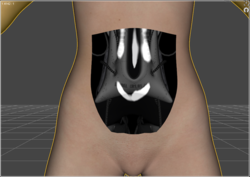
5. Now that you have an open belly, it’s time to fill it with some robot parts. Start with the CyBody figure:
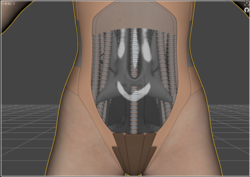
6. Next, add the Prototype 5 figure:
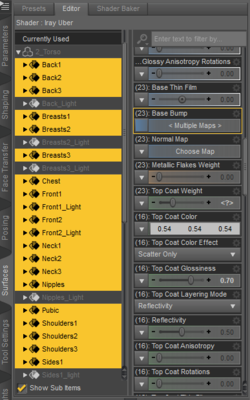
7. The Prototype 5 figure adds additional panels that you might not want for your figure. To get rid of them, go back to the surfaces editor tab, select and expand the ‘2_Torso’ figure and select everything that’s not a light or a tube (select the Front1_Light and Front2_light surface as well). Set the cutout opacity for all surfaces to 0.
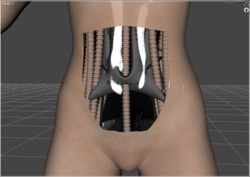
8. She still needs something to fill up her insides, so we’ll go to Davo’s MadLab III and select ‘Probe 3’ Resize and position as needed inside your figure before parenting it to the Prototype 5’s lower chest:
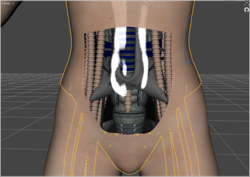
9. Repeat with the ‘Probe 1’ figure to fill out the pelvic area:
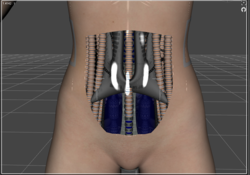
10. And that’s it! You now have a fembot with robot parts ready to show to the world. Mix and match with other parts to create your own fembot, and show us your results!

Happy rendering