User:Your Local Fembot: Difference between revisions
Jump to navigation
Jump to search
No edit summary |
No edit summary |
||
| Line 28: | Line 28: | ||
* Removing Vaginal/Penis Modules | * Removing Vaginal/Penis Modules | ||
* Being dismantled into bare parts and scrapped (after making a backup ;)) | * Being dismantled into bare parts and scrapped (after making a backup ;)) | ||
* Friends being | * Friends being disassembled / talking each other into being disassembled | ||
* Disassembling each other | * Disassembling each other | ||
* Masturbating while seeing the one you love be dismantled into a pile of spare robot parts | * Masturbating while seeing the one you love be dismantled into a pile of spare robot parts | ||
Latest revision as of 16:47, 12 May 2024

She/Her 🏳️🌈 (Bisexual)
UX2000 series Fembot Engineer who loves documenting her work.
If you wish to talk i am active on Twitter and FembotLabs as @hse2473.
If you want to know what my stuff is mainly about it's good to know my (Fembot) Kinks:
- Full Nudity
- Dark Skin
- Fit / Muscular bodies
- Abs / Toned Stomach
- Disassembly / Maintenance
- Open Abdominal Panel / Open Stomach
- Lying on Conveyor Belts
- Masturbation
- Gentle / Sensual interactions
- Automated Factories
- Removing Vaginal/Penis Modules
- Being dismantled into bare parts and scrapped (after making a backup ;))
- Friends being disassembled / talking each other into being disassembled
- Disassembling each other
- Masturbating while seeing the one you love be dismantled into a pile of spare robot parts
- ...
A few more things to know about me:
- Built or Transformation? Both.
- Favorite Fembot Part? Abdominal Panel ^^
- Favorite Human Part? A sexy tummy with visible Abs of course!
- Favorite kind of Story? The one where i strip naked and lie down on a conveyor belt to be disassembled.
- Favorite Ship? Korrasami and Caitvi.
- What program do i use to make Manips? GIMP.
My personal Manip Tutorial
Here is a little tutorial on how my manip process works:
Like i said i use GIMP which is a free program so you can easily get your own copy of it.
- 1st: go source some manip material of your choice. since i and this guide specialize in open abdominal panels your candidates should have the persons stomach well visible and if possible at as straight an angle as possible. since i am a big fan of Korra i will be making a Korra Bot in this example. we will be referring to this as the source layer from now on.
- 2nd: you need to find some abdominal circuit asset(s). my gallery has a selection of the ones i use. we will be referring to this as the abdominal circuit(s) layer/asset from now on.
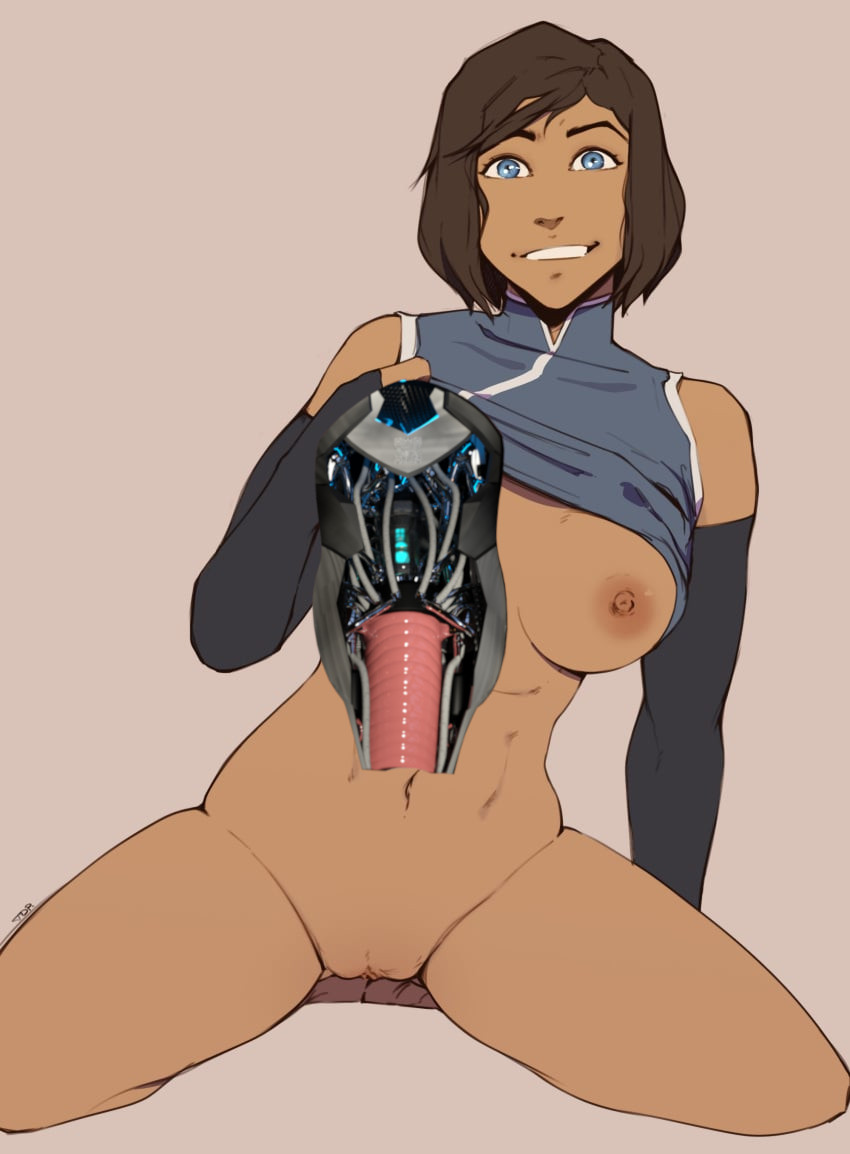
- 3rd: drop both files into GIMP. it should no look a little like this:
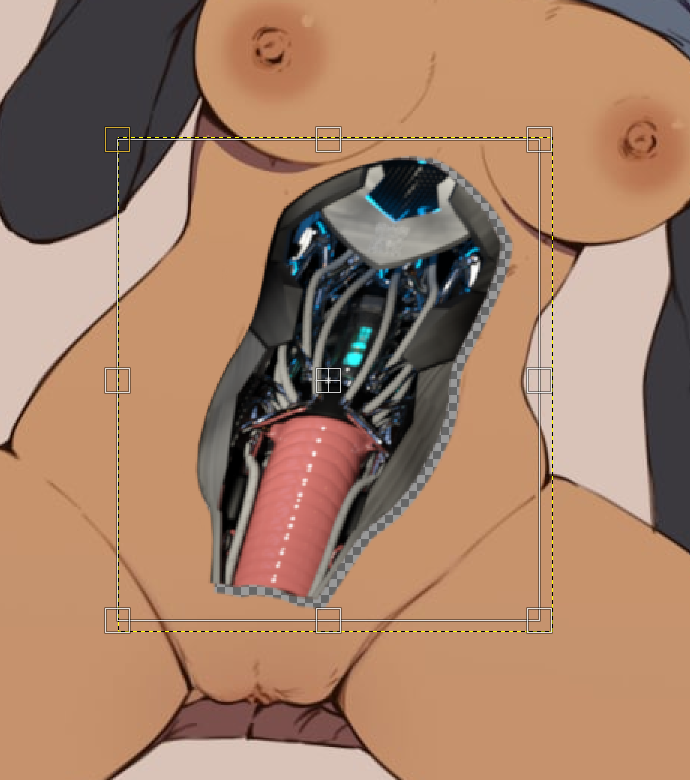
- 4th: now it is time to fit the asset closer to korras stomach. to do this first flip the asset into its correct orientation and then use the handle transform tool. in some cases this will not result in a good shape (for example when the persons is sitting and their stomach is not flat) in this case you can use the cage transform tool to further tweak the shape closer to fit. in our example however we don't need to do that.
- 5th: once you are satisfied with the shape of your abdominal circuit asset drag it below the source layer and right click the asset and select "alpha to selection" this will create an outline of the abdominal circuits asset on korras stomach.
- 6th: now you will need to create a copy of the source layer for later use (drag it to the bottom and hide it by selecting the eye icon), then right click the source layer and select "add layer mask" then click the newly created white box next to the layer preview to select the mask. since we already have selected the outline of korras abdominal panel all we need to do now is paint the selection in our mask black. this will remove the selected part of korras stomach, revealing the abdominal circuits asset below.
- 7th: now it is time to create the recess effect to make her abdominal circuits look like they are actually inside her. to do this select the abdominal circuits layer with the scale tool and then drag/scale it until you are satisfied with the amount of free space.
- 8th: select the copy of the source layer from step 5 and un-hide it. then select the dodge/burn tool and make sure it is set to burn in the settings (default is dodge). now simply use the tool as many times on the copy layer as you want to get a convincing "skin layer" effect. in a lot of cases especially on people with lighter skin this doesn't look very good however so we will do an extra step to make it look better.
- 9th: to make our skin layer effect look better we will use shadows present in the source layer as reference. use the color picker tool to select a color roughly representing of the shade seen in shadows in the source layer. then create a new layer and fill it with this color, then drag it below the abdominal circuits layer and above the copy of the source layer. then select an opacity of 50%-80% for the new layer, whichever you think looks best.
- 10th: now it is time for perhaps the most important step: shadows on korras stomach. the abdominal circuits asset is rather bright (this is by design so it will fit as many pictures as possible) but this makes it look somewhat out of place. so now we will add realistic shadows to the components in korras stomach that for the source layer. to do this select the dodge/burn tool again and make sure to select a soft brush to get smooth transitions. then go along the edge of korras open panel until you get a convincing effect of her still present skin panels casting shadows onto her inner components.
- 11th: at this point you may already be done with your manip. but you can still do a few things to the abdominal circuits asset to make it fit better. i usually prefer to color shift the red vaginal module to a more uniform blue for example. to do this go to colors and then hue-saturation. i simply select red and shift the hue until it appears as roughly the same blue as the rest. furthermore for korra specifically i prefer to darken and desaturate the asset slightly.
- 12th: in this final step we will make our asset fit the artstyle of the source layer a bit better. for this i use the filters->artistic->oilify filter (usually with a low mask radius and exponent to not make the effect too strong) but something else may work best in your case. here you can feel free to experiment with filters and find out what best fits your manip.
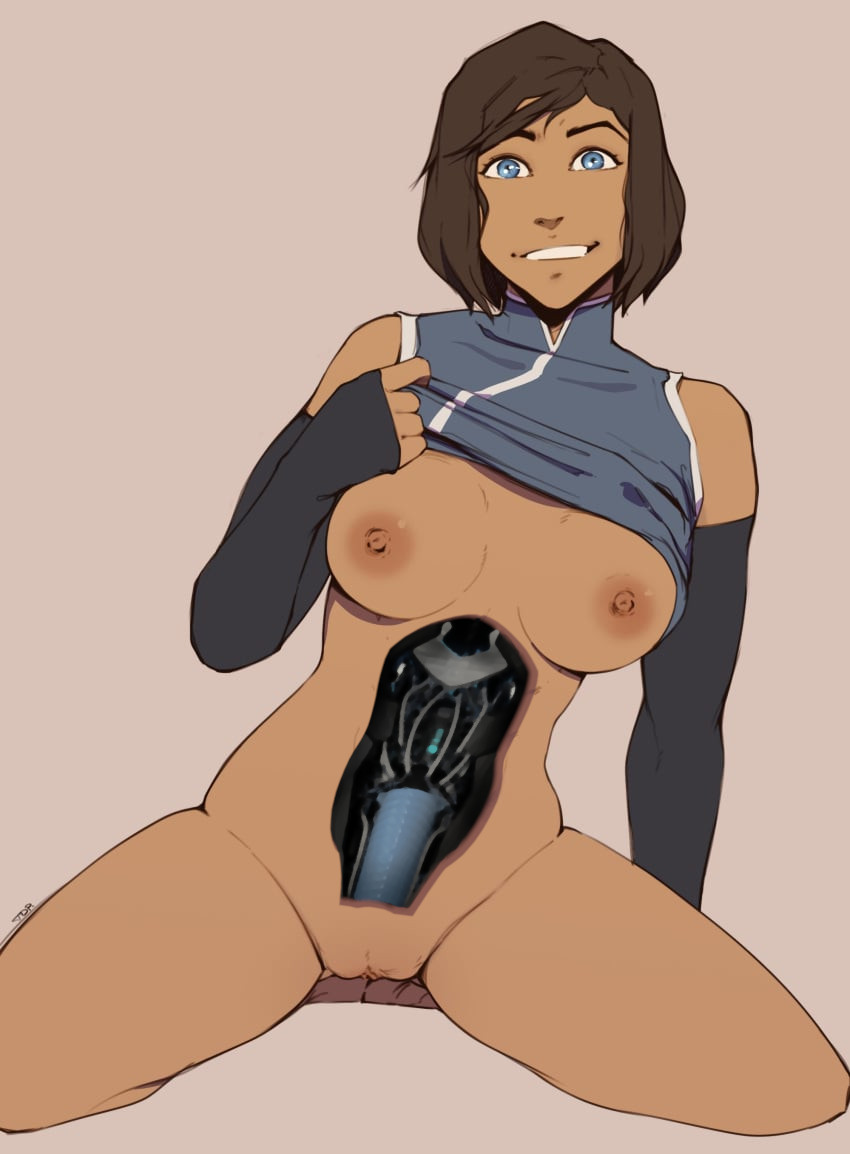
DONE! we have made a korra bot proudly showing us her inner circuits.


